 Bellingham Roofing
 Why Birch Bay's Waterfront Setting Is Hard on Siding
Birch Bay sits right on the water, and that location cuts both ways. The same shoreline that makes it a great place to live also puts homes in a tougher exposure category than a house a few miles inland in Bellingham. Salt-laden air moves off the bay and settles on exterior surfaces daily, wind-driven rain gets pushed sideways into seams and laps that would stay dry in a calmer setting, and the shaded, moisture-heavy stretches under mature trees or in north-facing gaps between homes stay damp long enough for moss and algae to take hold. None of this is unusual for a Whatcom County waterfront community — it's just the reality of building on the Salish Sea.
Siding is the layer that absorbs all of it first. Over years, that combination of salt exposure, sustained moisture, and constant freeze-thaw-damp cycling through the fall and winter wears out lower-grade materials faster than most homeowners expect. A siding replacement in Birch Bay isn't just a cosmetic project — it's the point where you decide whether the next 30 years of weather exposure gets handled correctly or gets patched over again.
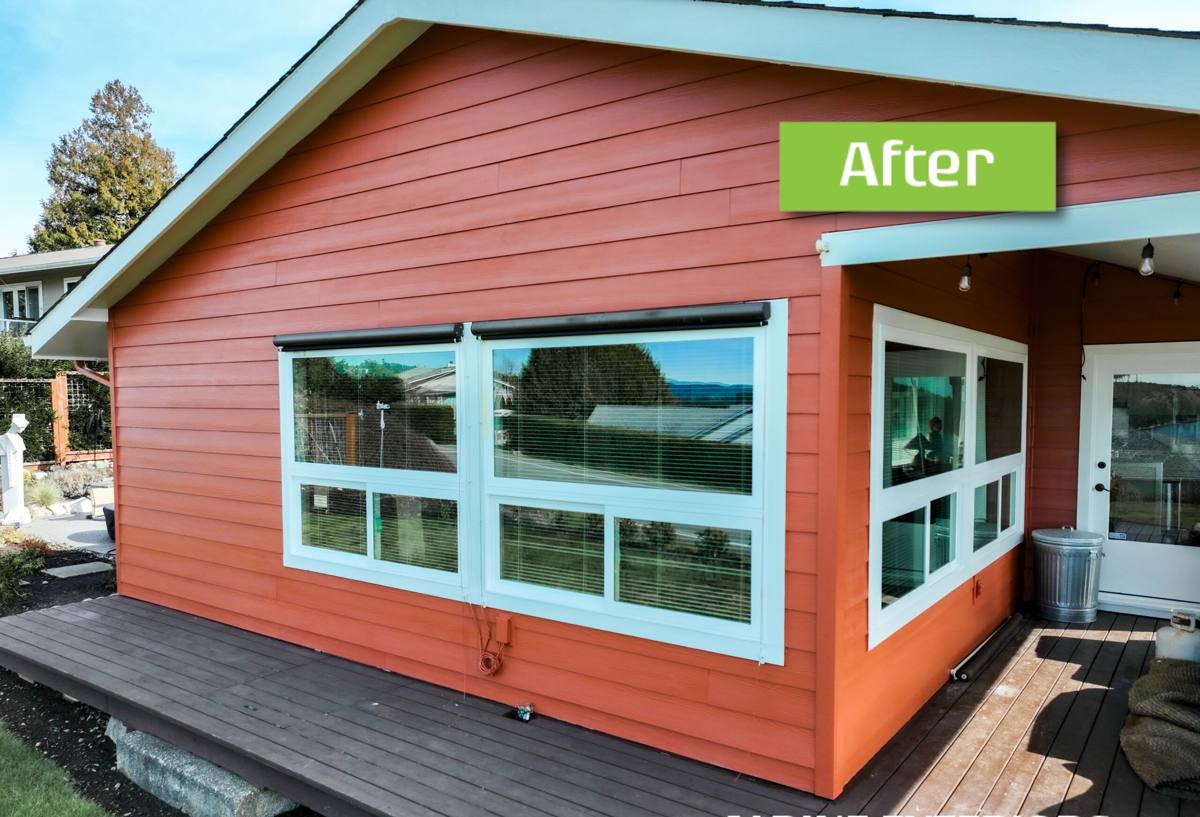
Signs Your Birch Bay Home's Siding Has Reached the End of Its Life
Siding failure is usually gradual, and homeowners often notice the small stuff long before they connect it to a bigger problem underneath. Here's what we look for during an inspection, and what you can check yourself from the ground:
- Boards or panels that feel soft, spongy, or crumble slightly at the edges when pressed
- Persistent black or green streaking, especially on north- and west-facing walls closest to the water or tree cover
- Bubbling, peeling, or chalky paint that keeps coming back within a year or two of repainting
- Visible gaps, warping, or buckling where panels have swelled and shrunk with moisture cycles
- Rising interior utility costs or drafts near exterior walls, which can point to a compromised weather barrier behind the siding
- Rust streaks around fasteners or corroded trim pieces, common in salt-air exposure
- Musty smell or soft drywall on interior walls that back up to exterior siding
Any one of these on its own might be a minor repair. Several at once, especially on the water-facing sides of the house, usually means the siding system as a whole has stopped doing its job.
What a Correct Siding Replacement Actually Involves
Replacing siding is not just swapping old boards for new ones. Done right, it's a full weather-management system, and skipping steps here is exactly how homes end up with the same problems again in five years instead of thirty.
Tear-Off and Sheathing Inspection
We remove the old siding down to the sheathing and inspect what's underneath before anything new goes up. In a coastal environment like Birch Bay, this step matters more than most places — hidden moisture damage behind failed siding is common, and it needs to be addressed before a new weather barrier goes over it, not covered up.
Weather-Resistive Barrier and Flashing
A correctly lapped weather-resistive barrier, properly integrated window and door flashing, and sealed penetrations (vents, hose bibs, light fixtures) are what actually keep wind-driven rain out of the wall assembly. This is the layer that does the real waterproofing work — the siding on top of it is the first line of defense and the finish, but the barrier system behind it is what prevents the rot problems we see on older Birch Bay homes.
Fastening, Clearances, and Trim
Manufacturer-specified fastener patterns, proper clearance from grade, decks, and roof lines, and correctly sealed joints and trim all affect how the siding performs over time. Corners cut here don't usually show up as problems for a year or two — which is exactly why they get cut, and exactly why they matter.
How Siding Materials Actually Hold Up in Coastal Exposure
Not every siding product handles salt air, driving rain, and constant dampness the same way. Here's an honest look at how common options perform in a setting like Birch Bay:
| Material | Coastal / Moisture Performance | Long-Term Consideration |
|---|---|---|
| Vinyl | Can warp or become brittle with temperature swings; seams are a moisture entry point | Lower upfront cost, but limited lifespan and repair options in high-exposure areas |
| Cedar | Attractive but absorbs moisture readily; needs ongoing sealing and maintenance near the water | Highest maintenance burden; rot risk if upkeep lapses even briefly |
| LP SmartSide (engineered wood) | Wood-based core is moisture-sensitive at cut edges and seams if not perfectly sealed and maintained | Performance depends heavily on installation precision and ongoing caulk/paint maintenance |
| James Hardie fiber cement | Non-combustible, dimensionally stable, engineered moisture resistance; holds up to salt air and sustained rain exposure | Factory-applied ColorPlus finish resists fading and doesn't rely on field paint for protection |
This isn't a knock on every homeowner who has cedar or vinyl on their house today — plenty of those installations have held up fine with the right maintenance. It's simply why, when we're the ones doing the installing, we've standardized on one product system rather than offering all of them.
Why We Install Only James Hardie Fiber Cement
We install James Hardie exclusively — no vinyl, no LP SmartSide, no Cemplank or Allura, no primed spruce or cedar. That's a deliberate standard, not a lack of options. Hardie's HZ5 product line is climate-engineered for the wetter, higher-moisture-exposure conditions common in the Pacific Northwest, which matters directly in a place like Birch Bay where the house is fighting salt air and wind-driven rain year-round rather than occasionally.
Fiber cement is also non-combustible, which is a genuine safety advantage regardless of climate, and the ColorPlus factory finish means the color coat is baked on under controlled conditions rather than applied on-site — it holds up better against fading and doesn't leave you repainting every few years to keep ahead of sun and salt exposure. Backed by a strong transferable warranty and installed to manufacturer spec, it's the product we're comfortable standing behind on a coastal home.
Our Siding Replacement Process
- On-site inspection and estimate — we assess current siding condition, sheathing, and any moisture damage, and walk you through options honestly.
- Material and color selection — choosing the right Hardie profile and ColorPlus finish for the home's style and exposure.
- Tear-off and sheathing repair — old siding removed, damaged sheathing identified and addressed before covering it back up.
- Weather barrier and flashing installation — the moisture-management layer that does the real work of keeping water out.
- Hardie siding installation — installed to manufacturer fastening, clearance, and joint specifications.
- Trim, caulking, and final detailing — the finish work that determines how clean the result looks and how well it sheds water long-term.
- Walkthrough and cleanup — site cleared, debris hauled, and a final review with the homeowner before we call it done.
What Affects the Cost of a Siding Replacement in Birch Bay
Every home is different, and we won't quote a number without seeing the house, but these are the factors that most commonly move the price:
| Factor | Why It Matters |
|---|---|
| Home size and wall area | More square footage means more material and labor time |
| Current siding removal complexity | Multiple layers or damaged sheathing add tear-off and repair time |
| Story height and access | Second-story and hard-to-access walls require more staging and safety setup |
| Trim and architectural detail | Corners, dormers, and window/door trim add labor beyond flat wall runs |
| Siding profile and finish selection | Lap width, panel style, and ColorPlus color options vary in material cost |
| Extent of underlying moisture damage | Rotted sheathing or framing found during tear-off adds repair scope |
Why a Crew That Already Works Birch Bay Makes a Difference
A siding contractor who mainly works inland jobs isn't necessarily going to get the details wrong — but a crew that regularly works waterfront and near-waterfront homes in Whatcom County has already seen how wind direction, salt exposure, and seasonal moisture play out on houses like yours. That shows up in small decisions: where extra flashing attention pays off, which wall orientations need the most careful sealing, and how to sequence a job around Birch Bay's weather windows rather than fighting them.
It also matters for the practical side of the project — pulling the correct permits through Whatcom County, scheduling around a property that may be a full-time residence or a seasonal home, and communicating clearly so there are no surprises mid-project. Local experience isn't a marketing line; it's the difference between a crew guessing at coastal conditions and one that already knows them.
Get a Straightforward Estimate
If your siding is showing wear, or you just want an honest read on whether it's holding up the way it should, we're happy to take a look. We'll walk the exterior, tell you what we actually see, and put together a free, no-pressure estimate for a James Hardie siding replacement built for Birch Bay's conditions — no obligation either way. Use the form below to get started.