 Bellingham Roofing
 Why Birch Bay Siding Takes a Different Kind of Beating
Birch Bay sits right on the water, and that changes what "normal wear" looks like on a house. A few miles inland in Bellingham, siding failures are usually about age, sun exposure, or a one-time installation mistake. Out on the Birch Bay shoreline, homes deal with all of that plus something inland houses rarely see in the same concentration: salt-laden air blowing off the water, wind-driven rain that hits siding sideways instead of straight down, and a moss and algae season that runs longer than most homeowners expect. Repairing siding here isn't just patching a hole — it's understanding why that spot failed in the first place, because the same conditions that caused the damage will find the next weak point if the repair isn't done right.
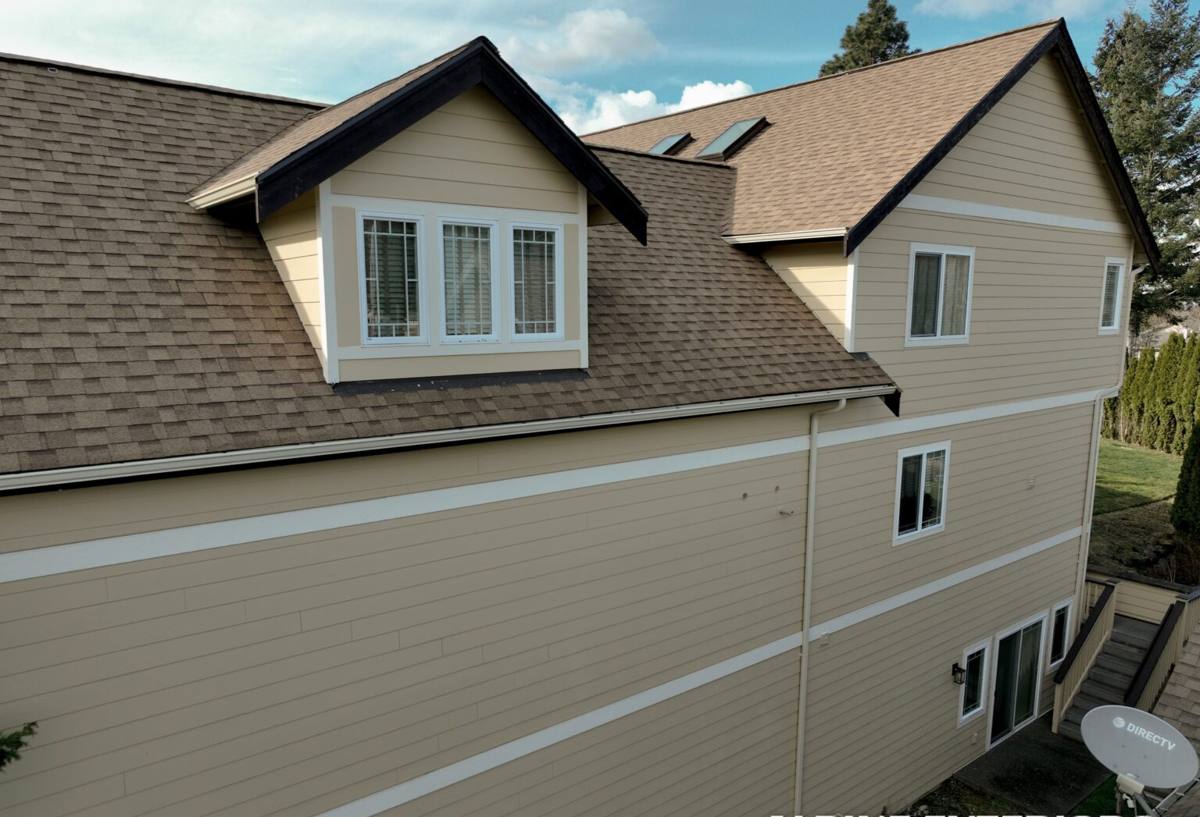
What Salt Air, Wind-Driven Rain, and Moss Actually Do to Siding
Salt Air and Fasteners
Airborne salt doesn't just sit on the surface — it works into fastener heads, trim joints, and any exposed metal. Over years, that accelerates corrosion on fasteners and flashing that weren't rated for a marine environment. Once a fastener starts to corrode, it loses grip, siding boards can work loose at the edges, and small gaps open up that let water behind the cladding.
Wind-Driven Rain and Seams
Whatcom County gets plenty of rain generally, but the wind coming off the water at Birch Bay pushes rain sideways and even upward under eaves and at butt joints. Siding systems built for a calmer, drier climate rely on gravity to shed water downward. When rain is driven horizontally, it finds every seam, every trim gap, and every spot where caulk was used instead of proper flashing — and it gets in.
Moss and Trapped Moisture
The Pacific Northwest's mild, wet winters and shaded, humid microclimates near the water give moss and algae a long growing season — often eight months or more where surfaces stay damp. Moss holds moisture directly against the siding surface far longer than open air ever would. On wood-based products especially, that constant dampness is what starts rot, even when the surface still looks intact from a distance.
Signs Your Birch Bay Home Needs Siding Repair
Catching these early is the difference between a straightforward repair and a much bigger project once water has gotten behind the wall assembly.
| What You See | Likely Cause | Why It Matters |
|---|---|---|
| Soft or spongy spots when pressed | Moisture trapped behind the board, often from a failed seam or trim joint | Usually means the substrate or sheathing behind is already wet — needs attention before it spreads |
| Dark green or black staining that keeps returning after cleaning | Moss or algae holding moisture against the surface | Repeated regrowth signals a spot that stays damp longer than the rest of the wall — worth investigating why |
| Rust streaks below fastener heads or trim | Corroding fasteners or flashing not rated for salt exposure | Corroded fasteners lose holding power and can let boards shift or separate |
| Cracked or peeling caulk at joints and corners | Sun and moisture cycling breaking down sealant over time | Open joints are a direct path for wind-driven rain to get behind the siding |
| Bubbling or peeling paint on trim or fascia | Moisture pushing out from behind the surface | Often a visible symptom of a hidden moisture problem, not just a paint issue |
What a Correct Repair Actually Involves
A siding repair that only addresses what's visible on the surface tends to fail again within a season or two on a coastal property. A repair that actually holds up starts with figuring out how water got in, not just where it's showing.
- Find the moisture source first. Damaged siding is often a symptom, not the root cause — a failed flashing detail or gap upstream is usually the real problem.
- Check what's behind the siding. If water reached the sheathing or framing, that needs to dry out and be assessed before new siding goes back on — covering wet material with new board just hides the problem.
- Replace with matching material and profile. Mixing products or profiles on a repair creates new seams and expansion differences that become the next failure point.
- Use fasteners and flashing suited to a marine environment. This is not the place to reuse standard fasteners that will corrode again in a few years.
- Rebuild the water-shedding path correctly — proper flashing and lapping, not caulk used as a substitute for flashing. Caulk is a backup seal, not the primary defense.
- Match the finish. Factory-applied color coatings age differently than field-applied paint, so matching an existing section takes the right product and the right technique.
Why We Repair Exclusively With James Hardie Fiber Cement
We install and repair one siding system: James Hardie fiber cement. It's a deliberate standard, not a default. Fiber cement doesn't absorb and swell with moisture the way wood-based products can, which matters directly in a climate where boards stay damp for long stretches. It's also non-combustible, holds paint and factory ColorPlus finishes longer than field-applied coatings on other materials, and Hardie's HZ product lines are engineered for specific climate zones rather than a one-size-fits-all specification.
That standard applies to repairs too. When we patch a section of Hardie siding, we're working with a product designed to behave consistently over time, in the same climate zone it was engineered for. When we're asked to repair vinyl, LP SmartSide, or cedar, we'll be straightforward with you about what we see — but we don't install those products, because we've made the call that they don't hold up the way we want a repair to hold up on this coastline.
Repair or Replace? How We Decide
| Factor | Points Toward Repair | Points Toward Replacement |
|---|---|---|
| Extent of damage | Isolated to one or two sections | Recurring in multiple areas across the wall |
| Moisture behind the siding | Sheathing and framing are dry and sound | Rot or sustained water damage found behind boards |
| Age of existing siding | Newer installation, otherwise in good condition | Original siding is decades old and near end of service life |
| Cause of failure | A single identifiable defect (one bad joint, one damaged board) | A systemic installation issue affecting the whole wall |
| Color/finish match | Existing ColorPlus finish is close enough to match well | Significant fading makes a seamless match unrealistic |
Most of the time, especially with isolated wind or impact damage, repair is the right call. We'll always tell you honestly when a section has moved past that point.
Our Process for Siding Repair in Birch Bay
- On-site inspection. We look at the damaged area and the surrounding wall, not just the spot you called about — coastal wear is rarely limited to one board.
- Diagnose the cause. We check flashing, trim, and fastener condition to understand why that section failed.
- Check for hidden moisture. If there's any indication water reached the sheathing, we open it up and assess before closing anything back up.
- Repair with matching James Hardie material and marine-appropriate fasteners and flashing.
- Reseal and finish to match the surrounding siding as closely as the existing finish allows.
- Walk the job with you before we consider it done, so you know exactly what was found and what was fixed.
Why a Crew That Already Works Birch Bay Matters
Birch Bay's exposure isn't uniform with the rest of Whatcom County — a wall facing the water takes a different beating than one facing inland, even on the same house. A crew that regularly works this stretch of coastline has already seen which details fail first in this specific environment: which trim joints let water in, which fastener choices hold up and which don't, and where moss tends to establish itself given the shade and moisture patterns near the shoreline. That local pattern recognition is what separates a repair that lasts from one that's back on the schedule in a year or two. Timing matters too — inspecting and repairing before the wet season sets in gives new sealant and coatings a real chance to cure properly, rather than fighting moisture from day one.
Maintaining Your Siding After a Repair
A good repair holds up longer with a little seasonal attention, especially this close to the water.
- Rinse siding periodically to clear salt residue and organic buildup before it sets in
- Keep gutters clear so overflow isn't running down the wall face
- Trim back vegetation and branches that keep sections of wall shaded and damp
- Do a visual check each fall, before the wet season, for cracked caulk or lifted trim
- Address small issues — a loose corner, a hairline gap — before winter storms push rain into them
- Watch previously repaired areas for a season or two to confirm the fix is holding
Talk to a Local Crew About Your Siding
If you're seeing staining, soft spots, or open joints on a Birch Bay home, it's worth getting eyes on it before another storm season works on it further. We offer free, no-pressure estimates — we'll tell you plainly whether you're looking at a straightforward repair or something bigger, and what we'd recommend either way. Fill out the form below to get started.