 Bellingham Roofing
 Building in Puget: What the Climate Asks of Your Windows
New construction in the Puget area gives you one real advantage over a remodel: the chance to get the window installation right before drywall, siding, and finish work cover up the details that matter most. That matters here more than in a lot of places. Homes near Bellingham and around Whatcom County deal with a specific combination of conditions — salt-laden air moving off the water, long stretches of driving, wind-pushed rain rather than gentle vertical rainfall, and a moss and algae season that can stretch from fall through spring on shaded or north-facing walls. None of that is a problem a window unit solves by itself. It's a problem the installation solves, or fails to solve, at the rough opening.
A window that's correctly flashed, fastened, and sealed into a new-construction wall assembly will shed wind-driven rain and resist the slow moisture creep that feeds mold and rot. A window that's rushed or installed out of sequence with the weather-resistive barrier can leak for years before anyone notices, because the damage happens inside the wall cavity, not on the surface. In new construction, this is a one-shot job — you don't get to redo the flashing after the siding is on without tearing into finished work.
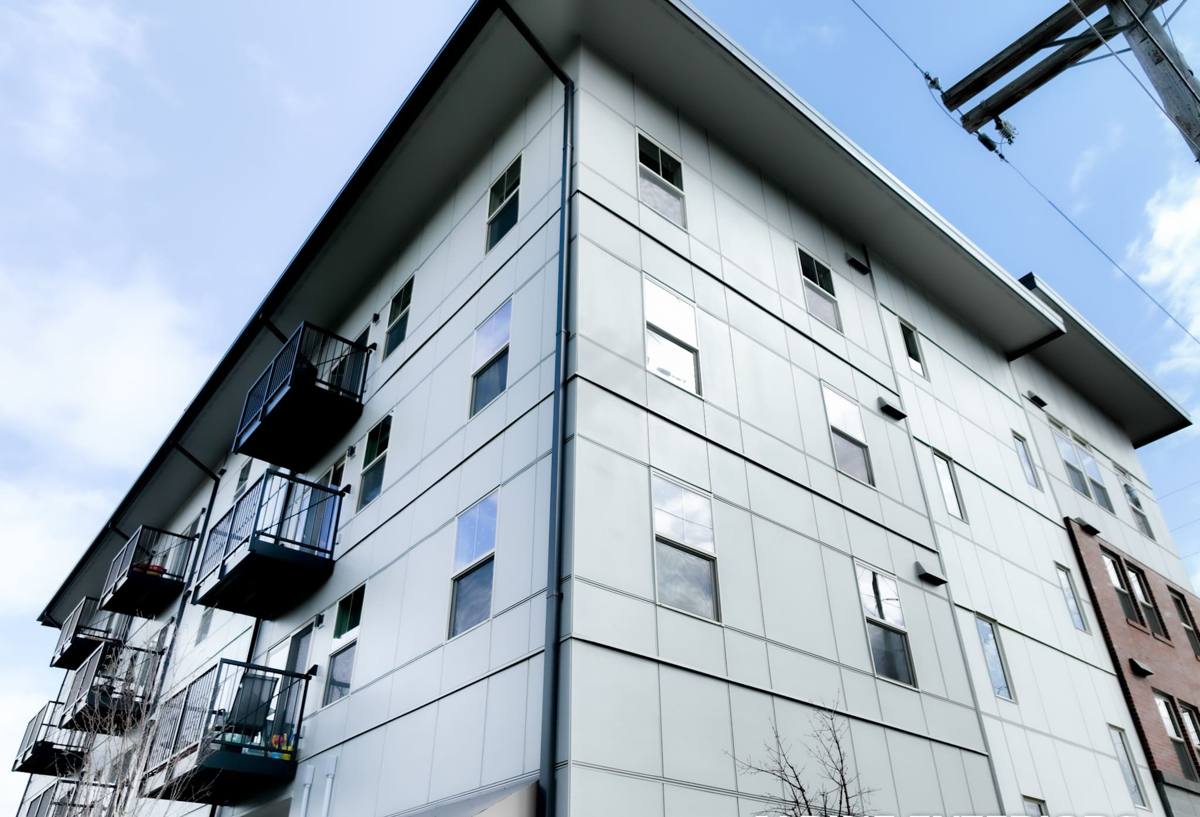
New-Construction Windows vs. Replacement: Why the Install Method Changes Everything
New-construction windows are built with a nailing fin around the perimeter of the frame, designed to be fastened directly to the sheathing and integrated into the wall's drainage plane before siding goes on. This is a completely different installation than a pocket or replacement window, which fits into an existing finished opening and relies on the old frame and trim for weather protection. The nailing-fin method gives us more control over water management, but only if it's sequenced correctly with the house wrap or weather-resistive barrier (WRB), the sill pan, and the flashing tape.
On a new build, we're installing into raw sheathing, working alongside framers, siding crews, and sometimes the general contractor's own schedule. That coordination is part of the job. A window installed a week too early, before the WRB is up, or a week too late, after siding crews have already started, creates problems that are expensive to unwind. Getting the timing and the method right the first time is what separates a clean new-construction install from a callback six months later.
What a Correct New-Construction Window Install Involves
Sill Pan Flashing First
Before a window ever goes into the rough opening, the sill needs a pan flashing — a shaped, sloped barrier that catches any water that gets past the window and directs it back outside the wall, not down into the framing. In a climate with as much sustained rainfall as Whatcom County sees, skipping this step or installing it flat instead of sloped is one of the most common causes of hidden rot we get called to diagnose in older homes. On new construction, there's no excuse for skipping it — it takes an extra twenty minutes and it's the cheapest insurance in the whole install.
Shingle-Lap Sequencing with the Weather-Resistive Barrier
Water management on a wall works like shingles on a roof: each layer overlaps the one below it so water is always directed outward and downward, never trapped behind a lower layer. That means the WRB gets cut and integrated at the sill first, side flashing laps over the sill flashing, and head flashing laps over the side flashing and building paper above the window. Get this order wrong — even by lapping one piece backward — and you've built a funnel instead of a drain.
Fastening, Shimming, and Squaring
A window that's out of square or racked in the opening won't operate correctly, and it puts uneven stress on the seals around the glass, which shortens the life of the weatherstripping and can lead to air and water infiltration around the sash even if the flashing is perfect. We shim and check for plumb, level, and square before a single fastener goes into the nailing fin, then fasten on the schedule the manufacturer specifies — not just wherever it's convenient — because under-fastening in a windy, salt-air environment shows up later as a window that shifts or whistles in a storm.
Meeting Washington's Energy Code
Whatcom County falls under Washington's marine climate zone for energy code purposes, which sets performance requirements for window assemblies — U-factor for heat loss and often solar heat gain coefficient depending on orientation and glazing area. On new construction, this isn't optional; it's checked at inspection along with everything else on the building permit. We spec glass packages to meet or beat current code requirements rather than guessing, and we can walk you through what that means for your specific plan set before windows are ever ordered.
Choosing a Frame Material for Puget Conditions
There's no single "best" window frame material — every option is a set of trade-offs, and the right call depends on your budget, your home's exposure, and how much upkeep you want to take on. In a coastal, high-moisture climate, corrosion resistance and moisture tolerance matter more than they would somewhere dry and inland.
| Frame Material | Salt Air / Moisture Behavior | Maintenance | Typical Cost Position |
|---|---|---|---|
| Vinyl | Won't corrode or rot; performs well in coastal air | Low — occasional cleaning | Most affordable |
| Fiberglass | Very stable in moisture and temperature swings; strong corrosion resistance | Low | Mid to upper-mid |
| Wood-clad | Good performance if cladding and seals stay intact; exposed wood interior can be sensitive to sustained damp conditions | Moderate — finish and seal upkeep | Upper |
| Aluminum | Prone to condensation and corrosion in salt air unless thermally broken and properly coated | Moderate | Varies widely |
For most new builds in the Puget area, vinyl and fiberglass are the frames we recommend most often, simply because they hold up with the least fuss in a climate that stays damp for a large part of the year. Wood-clad windows can still be the right architectural choice for some homes — we just make sure the client understands the maintenance commitment that comes with it, rather than framing it as a flaw in the product.
What Drives Cost on a New-Construction Window Package
Every new-construction bid is different, but the same handful of factors move the number up or down on almost every job we quote in this area.
| Cost Factor | Why It Matters |
|---|---|
| Number and size of openings | More units and larger glass areas mean more material and labor hours |
| Frame material | Vinyl, fiberglass, and wood-clad sit at different price points, as shown above |
| Glass package | Meeting or exceeding energy code, plus any tinting or impact considerations, adds cost |
| Story height and access | Second-story and stair-tower openings take longer and need staging or lifts |
| Flashing complexity | Bay windows, corner units, and unusual rooflines over openings add detail work |
| Schedule coordination | Tight builder timelines sometimes require additional crew days to hit a framing-to-siding window |
We'd rather walk a plan set with you and give an honest number based on your actual openings than quote a rough per-window average that doesn't hold up once the order gets placed.
Our Process on a Puget Job Site
- Review the plan set and window schedule with the builder or homeowner, confirming sizes, egress requirements, and energy code targets before ordering.
- Coordinate delivery and install timing with the framing and WRB schedule, so windows go in at the right point — not before the wall is ready, not after siding has started.
- Install sill pan flashing at every opening, sloped to drain outward.
- Set each window plumb, level, and square, shimming as needed before fastening.
- Fasten the nailing fin on the manufacturer's specified schedule.
- Integrate flashing tape and the WRB in proper shingle-lap order at sill, sides, and head.
- Air-seal the interior perimeter per code and best practice, without over-foaming in a way that bows the frame.
- Walk the openings with the builder or homeowner before siding closes them in, so any question can be answered while the wall is still open.
Working With Your Builder: Timing and Trade Sequencing
New-construction window work doesn't happen in isolation — it sits between the framing crew and the siding crew, and it depends on the WRB being installed correctly before we start flashing. On builds where we're brought in early, we can flag opening sizes or header details that might cause problems before framing is finished, which is a lot cheaper to fix than after the fact. We're used to working directly with general contractors on scheduling, and we understand that a delay on our end can hold up siding, so we build realistic windows into the schedule rather than promising a timeline we can't hit once weather or material lead times are factored in.
Pre-Drywall Checklist We Run on Every Window
Before any wall gets closed in, we confirm the following at every opening:
- Sill pan flashing installed and sloped to drain outward, not flat or reverse-pitched
- WRB, side flashing, and head flashing lapped in correct shingle order
- Window set plumb, level, and square with no visible rack in the frame
- Nailing fin fastened on the full manufacturer-specified schedule, not just at the corners
- No gaps or voids in flashing tape at corners, where most leaks actually start
- Interior air sealing done without overfilling or bowing the jamb
- Rough opening dimensions match the approved window schedule and egress requirements
- Glass package confirmed against the energy code target for the project
Why a Crew That Already Works Puget Matters
A lot of what makes a new-construction window install hold up long-term isn't visible on a spec sheet — it's judgment calls made on site, in real weather, on a real wall. A crew that regularly works in and around Bellingham and Whatcom County has already seen how a given wall orientation behaves in a wet winter, which elevations tend to collect moss and stay damp longer, and where salt air off the water accelerates wear on hardware and fasteners faster than it would inland. That's the kind of thing you learn by doing the work here repeatedly, not by reading a manufacturer's install guide once.
It also means fewer surprises with inspections. Local building departments have their own expectations around flashing documentation and energy code verification, and a crew that's been through those inspections before knows what to have ready. On a new build, avoiding a failed inspection isn't just an inconvenience — it can hold up the whole framing-to-siding sequence for your builder.
If you're planning new construction in the Puget area and want windows installed right the first time — flashed, fastened, and sequenced to handle what this climate actually throws at a house — we're glad to walk your plans and give you a straightforward, no-pressure estimate. There's a form below to get that conversation started.