 Bellingham Roofing
 Why Birch Bay's Waterfront Exposure Is Different
Birch Bay sits directly on the water, and that changes what siding has to survive here compared to a home a few miles inland in Bellingham. Homes along the bay take on salt-laden air, near-constant wind, and driving rain that comes in sideways off the Strait rather than falling straight down. That combination pushes moisture into places a typical siding installation on a sheltered lot never has to deal with — lap joints, corner trim, window returns, and the bottom courses closest to grade.
Add in Whatcom County's long, gray moss season, and you've got a material stress test that runs almost year-round. Salt air accelerates corrosion on fasteners and trim metal. Wind-driven rain finds gaps that would stay dry on a calmer street. And months of damp, low-light conditions feed moss and algae on north- and west-facing walls that never fully dry out between storms. Siding that isn't built and installed for this environment shows it early — through swelling, staining, warping, or fastener failure well before it should.
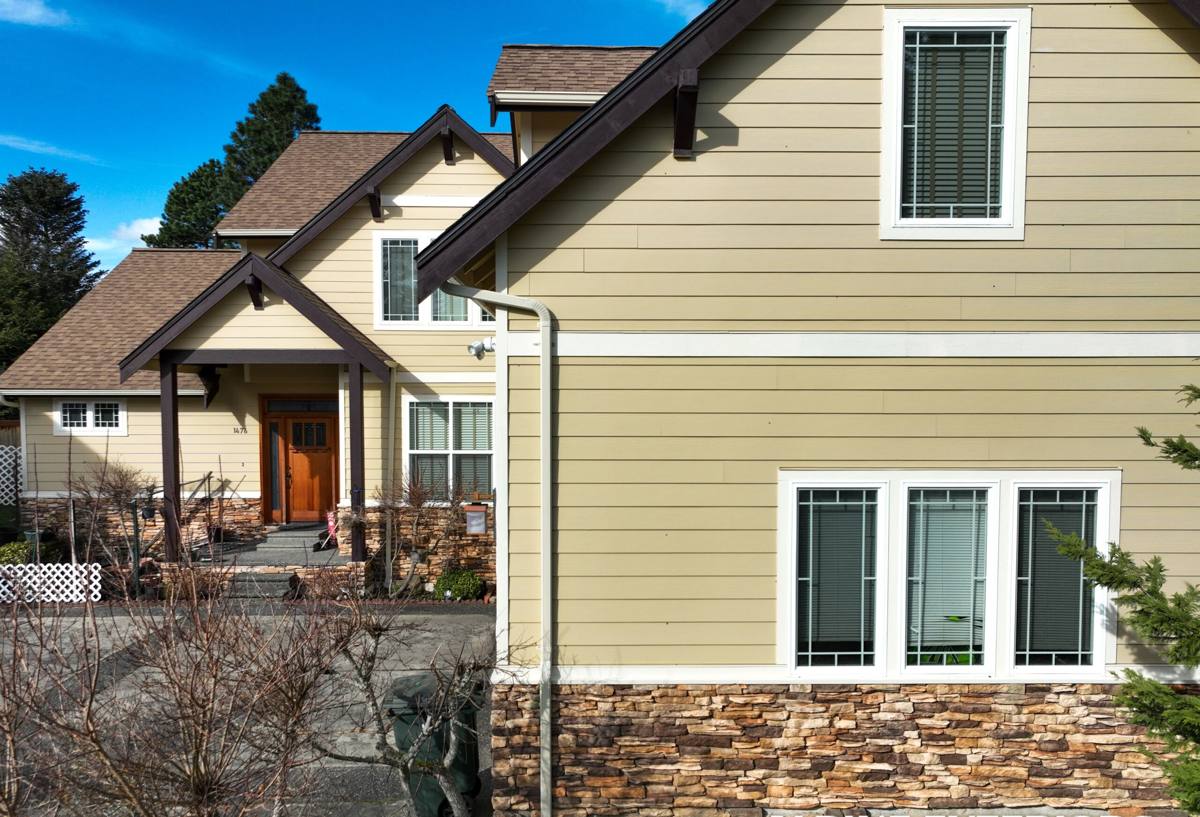
What Salt Air and Moisture Do to the Wrong Siding Material
Most siding failures we see on waterfront and near-waterfront properties in Whatcom County trace back to the same root cause: the material or the installation wasn't matched to how much water and salt exposure the wall actually gets. A few common patterns:
- Wood-based products (cedar, primed spruce, OSB-core composites) absorb moisture at cut edges and fastener penetrations, then swell, delaminate, or rot from the inside out.
- Vinyl softens and can warp under prolonged sun and salt exposure, and it has no real fire resistance — a real consideration given the wildfire smoke and ember exposure Western Washington has seen in recent summers.
- Untreated or poorly coated fasteners corrode faster near the water, leaving rust streaks and eventually loosening the siding itself.
- Caulk-dependent trim details fail faster in wind-driven rain, because the wind pushes water past joints that would otherwise shed it.
None of this means every non-Hardie product is doomed on a coastal lot — it means the margin for error is smaller here, and cutting corners on material or installation shows up faster in Birch Bay than it would in a more sheltered inland neighborhood.
Why We Install Only James Hardie Fiber Cement
We standardized on James Hardie fiber cement siding for every job we do, including waterfront homes in Birch Bay, for a straightforward reason: it's engineered to handle exactly this kind of climate stress. Fiber cement doesn't have the organic wood content that feeds rot and moss growth, it's non-combustible, and it holds up to sustained moisture exposure without the swelling and delamination that wood and composite products are prone to.
James Hardie also builds region-specific product formulations — their HZ5 line is engineered for the freeze-thaw and moisture conditions found in the Pacific Northwest, which matters more on an exposed bay-front wall than it does on a sheltered inland elevation. The factory-applied ColorPlus finish is baked on and backed by its own finish warranty, which matters in a salt-air environment where field-applied paint tends to fail faster and need more frequent recoating.
We don't install LP SmartSide, vinyl, Cemplank, Allura, or primed wood siding. That's not a knock on every homeowner who has one of those products — it's a standard we hold for our own installs, based on what we've seen perform reliably in this specific climate over time.
James Hardie Product Lines We Use Locally
| Product | Best Use on Birch Bay Homes | Why It Fits |
|---|---|---|
| HardiePlank Lap Siding | Primary wall cladding, most home styles | Traditional lap profile, factory-finished, engineered for PNW moisture exposure |
| HardiePanel Vertical Siding | Modern facades, accent walls, gable ends | Fewer horizontal joints where wind-driven rain can push water in |
| HardieTrim | Corners, window and door surrounds, fascia | Matches the siding's moisture and rot resistance at the most failure-prone details |
| HardieShingle | Accent gables, dormers | Coastal-style look without the maintenance of real wood shingle |
What a Correct Installation Looks Like on a Bay-Front Wall
Fiber cement is only as good as the installation behind it, and on a wall that takes direct wind-driven rain, the details matter more than the material choice itself. A correct job on a Birch Bay home includes:
Water Management Behind the Siding
We install a drainable weather-resistive barrier and, where the wall assembly calls for it, a rain screen gap so any water that does get past the siding has somewhere to drain and dry out instead of sitting against the sheathing. This is the single biggest factor in whether siding lasts 10 years or 40 on an exposed coastal wall.
Flashing and Fastener Details
Every window, door, and penetration gets proper flashing integrated with the weather barrier — not just caulk. Fasteners are placed and set to James Hardie's specifications (correct type, coating, spacing, and depth), because over- or under-driven nails are one of the most common causes of early siding problems, and corrosion-resistant fasteners matter more here than on an inland job.
Joints, Gaps, and Clearances
Butt joints are sealed or flashed per manufacturer spec, siding is held off grade and hard surfaces at the correct clearance, and gaps at trim and penetrations are sized so caulk isn't doing more work than it should. In a wind-driven rain environment, we treat caulk as a backup, not the primary water seal.
Our Process, Start to Finish
- Walkthrough and assessment — we look at your home's specific exposure: which walls take the most wind and rain, existing moisture damage, current siding condition, and trim details.
- Written estimate — a clear scope covering product lines, trim work, water management upgrades if needed, and a realistic cost range.
- Prep and tear-off — removal of old siding, inspection of sheathing for hidden rot or damage before anything new goes up.
- Weather barrier and drainage plane installation — the step that determines how the wall performs over the next few decades, done before a single piece of siding is hung.
- Siding, trim, and flashing installation — installed to James Hardie's fastening and clearance specifications, not shortcuts.
- Final walkthrough — we go over the finished work with you and the details behind the wall you won't see again once it's closed up.
Maintenance Through Moss Season
Fiber cement dramatically reduces maintenance compared to wood siding, but no siding is entirely maintenance-free in a climate like this. What we recommend for Birch Bay homeowners:
- Rinse siding annually, focusing on north- and west-facing walls where moss and algae build up fastest in the shoulder seasons.
- Keep gutters clear so overflow doesn't run down the siding face during heavy rain events.
- Trim back vegetation and shrubs that trap moisture against lower courses.
- Have caulking and trim joints checked every few years — not because fiber cement fails, but because sealant is the first thing to age out in a salt-air, high-wind environment.
What Drives Cost on a Birch Bay Job
| Factor | Why It Matters Here |
|---|---|
| Home size and wall complexity | More corners, dormers, and gables mean more trim and cut work |
| Current wall condition | Hidden rot or sheathing damage from prior moisture intrusion adds repair scope |
| Water management upgrades | Adding a rain screen or upgrading the weather barrier on an exposed elevation |
| Product line and profile | Lap vs. panel vs. shingle accents, plus trim selections |
| Access and site conditions | Waterfront lots can have tighter access, slopes, or staging constraints |
We give a firm, itemized estimate before any work starts — no vague allowances that turn into surprises once the old siding comes off.
Why Hire a Crew That Already Works This Coastline
Birch Bay isn't a typical inland Whatcom County lot, and a crew that mostly works sheltered Bellingham neighborhoods may not think through wind-driven rain details the same way a crew that regularly works the waterfront does. Knowing which elevations take the worst weather, how deep flashing needs to run at exposed corners, and how much drainage capacity a wall assembly needs isn't guesswork — it's pattern recognition built from doing this work on this stretch of coastline repeatedly.
That local familiarity shows up in decisions a homeowner never sees directly: where we add extra flashing even when it's not strictly required, which trim details get sealed differently on a bay-front wall versus a sheltered one, and where we push back on a shortcut that might pass inspection but wouldn't hold up to a real winter storm off the water.
Questions Worth Asking Any Contractor Bidding a Birch Bay Siding Job
- Do you install a drainage plane or rain screen behind the siding, or just a standard weather-resistive barrier?
- What fastener type and coating do you use, and is it rated for coastal/salt-air exposure?
- How do you flash windows, doors, and butt joints — and is that detailed in the written estimate?
- Have you completed siding projects elsewhere in Birch Bay or on comparable waterfront lots?
- What's included in the manufacturer's product warranty versus your own installation warranty?
If your Birch Bay home's siding is showing moss buildup, staining, or you're planning ahead for a replacement, we're happy to walk the property and give you a straightforward, no-pressure estimate — just fill out the form below.