 Bellingham Roofing
 Why New-Construction Windows Need Their Own Approach in Sehome
Building a new home or a major addition in Sehome gives you one advantage that replacement window jobs never have: the wall isn't finished yet. The windows go in before the siding, before the trim, and often before the weather-resistive barrier is even fully lapped. That sounds like it should make the job easier, and in some ways it does. But it also means every mistake made at this stage gets buried behind exterior finishes for the next twenty or thirty years. There's no going back to re-flash a sill after the siding crew has already wrapped it.
New-construction windows use a nailing fin (sometimes called a nail flange) that fastens directly to the sheathing, and the whole water-management sequence — house wrap, flashing tape, sill pan, window, head flashing — has to happen in the correct order, every time. Get that sequence right on a Sehome lot and the windows will perform for decades. Get it wrong and you won't know until there's a stain on a header or soft framing behind a sill, usually years down the road.
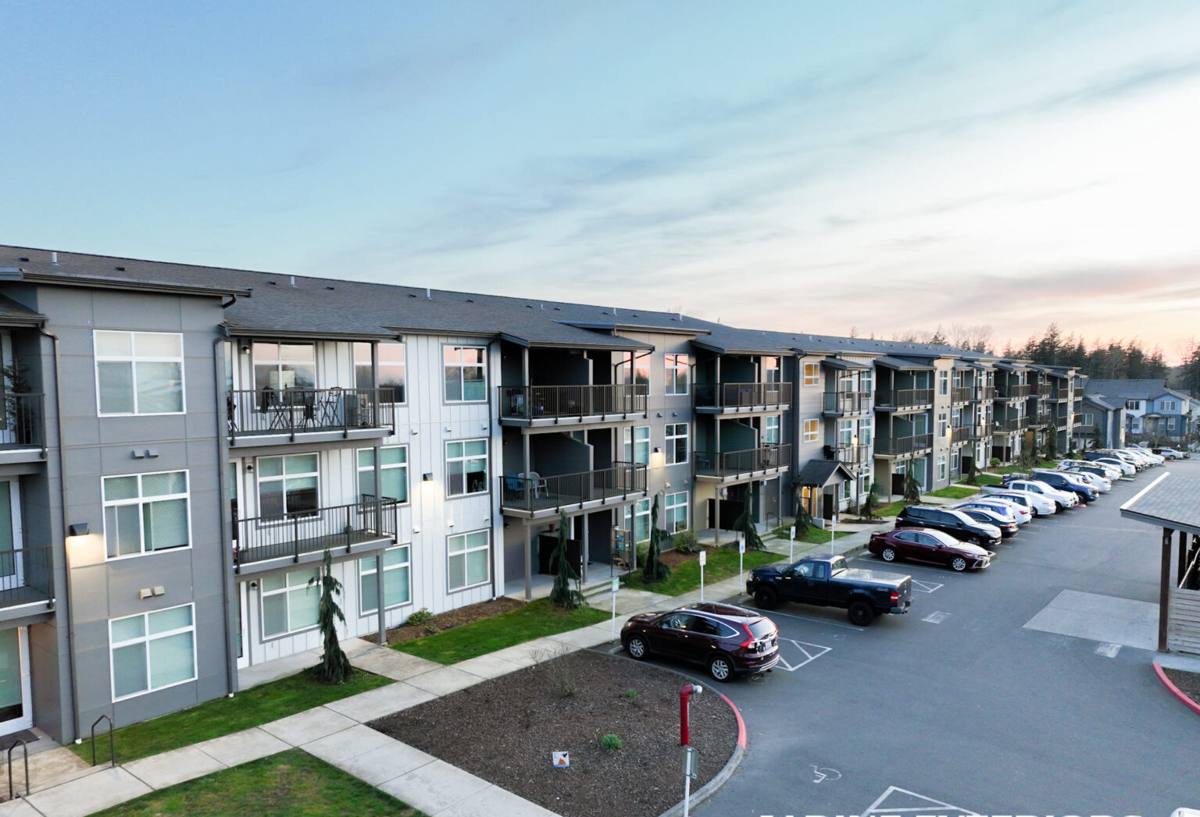
What Bellingham's Climate Asks of a New Window Install
Sehome sits close enough to Bellingham Bay that homes here deal with a specific combination of exposures: salt-laden air, wind-driven rain, and long stretches of shade and dampness that keep moss and algae active most of the year. None of these are dramatic on their own, but together they're hard on hardware, sealants, and anything installed with shortcuts.
Salt Air and Corrosion
Airborne salt accelerates corrosion on fasteners, hinge hardware, and lower-grade cladding finishes. It's not usually enough to damage the glass or the frame material itself, but it will find the weak link — an uncoated screw, a mismatched metal flashing, a fastener that wasn't rated for exterior exposure — faster than it would inland.
Driving Rain and Wall Assembly
Whatcom County gets plenty of rain that falls straight down and just as much that comes in sideways off a storm system. Driving rain tests horizontal surfaces — sills, and the top edge of head flashing — far more than a light, vertical rain ever would. A window that's only sealed well on the face but not integrated properly into the WRB will eventually let water track sideways into the wall cavity, and by the time it shows up as a stain inside, it's been happening for a while.
Moss Season and Shaded Lots
Many Sehome lots have mature trees and northern exposures that stay shaded and damp for months at a time. That's good for moss on a roof and bad for anything on a wall that traps moisture instead of shedding it. Window trim details and sill design matter more on a shaded lot than on one that gets full sun and dries out quickly after a storm.
What a Correct New-Construction Window Install Actually Involves
"Correct" isn't a matter of opinion here — it's a sequence, and skipping steps is the single biggest reason new windows leak within a few years of a build. On a proper install:
- The rough opening is checked for square, level, and correct size before the window ever arrives on site.
- A sloped sill pan flashing goes in first, so any water that does get past the window sheds back outward instead of pooling on the sill.
- The weather-resistive barrier is cut and lapped so that each layer overlaps the one below it — never the reverse — following a shingle-style sequence from the bottom up.
- The nailing fin is fastened on all sides with the fastener type and spacing the window manufacturer specifies, not just "enough to hold it."
- Flashing tape seals the side and head flanges over the WRB, with the head flashing installed last so it laps over everything below it.
- Backer rod and a compatible exterior sealant finish the perimeter — a sealant that isn't compatible with the WRB or the window's own finish can fail early or void a warranty.
Every one of those steps takes minutes. Skipping one doesn't cost minutes now — it costs a re-side job or interior repair later.
Choosing a Frame Material for a Sehome New Build
There's no single "best" window material for every project — it depends on the exposure, the budget, and how the window will be finished on the exterior. Here's how the common options compare for a coastal Whatcom County site:
| Frame Material | Salt Air / Moisture Behavior | Maintenance | General Cost Tier |
|---|---|---|---|
| Vinyl | Won't corrode; performs well if properly reinforced on larger sizes | Low — occasional cleaning | Lower |
| Fiberglass | Very stable in wet, salt-exposed conditions; minimal expansion/contraction | Low | Mid to higher |
| Wood-clad | Good if the cladding and flashing details are done right; the wood core needs protection from any water intrusion | Higher — depends on cladding condition over time | Higher |
| Aluminum | Strong but conducts cold and can corrode without a quality finish near salt air | Moderate | Varies |
We don't push one brand or material on every job. What we do insist on is that whatever frame you choose is installed with a flashing and sealing detail matched to it — the material matters less than whether the installation respects how that material handles water and movement over time.
Our New-Construction Window Process
New-construction window work has to fit into a builder's schedule, so timing and coordination matter as much as the install itself.
- Plan review. We look at the window schedule, rough opening sizes, and elevations before anything is ordered, and flag anything that looks off against the framing plan.
- Ordering and lead times. Custom sizes and certain glass packages can take weeks to arrive — we build that into the schedule up front so it doesn't hold up siding or drywall.
- Rough opening verification. On site, we check every opening for square and correct dimension before installation day, not after a window shows up and doesn't fit.
- Flashing and installation. Sill pan, WRB integration, fastening, and head flashing go in following the sequence above, on every opening, not just the visible ones.
- Sealing and trim tie-in. We coordinate the final seal and backer rod work with whoever is doing siding or trim, so the details line up instead of getting covered over with a gap underneath.
- Walkthrough. Before we consider the job done, we check operation, hardware, and the exterior seal on every unit.
Mistakes We Watch For on New-Construction Sites
Most of the window problems we get called out to fix in older Sehome homes trace back to a handful of recurring shortcuts during the original build:
- Sill pan flashing skipped entirely, relying on caulk alone to keep water out.
- House wrap lapped upside down or shingled in the wrong direction at the sill or head.
- Fasteners spaced too far apart, or the wrong fastener type used for the sheathing.
- Sealant applied over dirty, wet, or incompatible surfaces so it never bonds properly.
- Trim installed tight against the frame with no room for the window to expand and contract with temperature.
None of these show up on a walkthrough the week the house is finished. They show up two, five, or ten years later — which is exactly why getting them right the first time matters more here than almost anywhere else in the build.
Cost Factors for New-Construction Windows in Sehome
Every new-construction window bid is a little different, but the line items that actually move the price are consistent:
| Factor | Why It Affects Cost |
|---|---|
| Number and size of openings | More units and larger spans mean more material, more labor hours, and often reinforced framing |
| Frame material and glass package | Fiberglass and upgraded low-E or impact-rated glass cost more than standard vinyl and clear dual-pane |
| Site exposure | A wind- and rain-exposed elevation may call for upgraded flashing details or higher-performance sealant systems |
| Access and lot conditions | Sloped lots, tight side yards, or limited staging space near a build site can add labor time |
| Schedule coordination | Custom sizes and finishes with longer lead times can affect both cost and the overall build timeline |
We'll walk through which of these actually apply to your project during the estimate rather than quoting a number that doesn't reflect your specific plans.
Why Hire a Crew That Already Works Sehome
Window performance on a new build comes down to details that are specific to the site: how much wind and rain a particular elevation actually takes, how shaded a lot stays through the wet months, and how the local building department expects flashing and rough openings to be documented at inspection. A crew that's already worked other homes in this neighborhood has seen how these lots behave through a full Bellingham winter, not just on a clear installation day. That local track record also makes it easier to coordinate with your builder, framer, and siding crew — everyone already speaks the same language about sequencing, and there are fewer surprises mid-project.
A Homeowner's Checklist for New-Construction Window Quality
If you're keeping an eye on the process as your home goes up, here's what's worth checking before the walls get closed in:
- Sill pan flashing is visible at each opening before the window goes in — not just caulk.
- House wrap is lapped shingle-style (upper layers over lower layers) at every window opening.
- Head flashing is installed last, over the top of the side flanges and the WRB.
- Fastener spacing on the nailing fin matches the window manufacturer's instructions.
- Sealant is applied to clean, dry surfaces and is compatible with both the window finish and the WRB.
- Windows operate smoothly and close tight before trim and siding cover the perimeter.
If your builder or contractor can walk you through each of these without hesitation, that's a good sign. If any of it gets waved off as "we always do it this way," it's worth asking more questions before the siding goes up.
If you're planning new construction or a major addition in Sehome and want windows installed right the first time, we're happy to walk the plans with you and provide a free, no-pressure estimate — there's a form below to get started.