 Bellingham Roofing
 Windows Built for Fairhaven's Marine Climate
Fairhaven sits close enough to Bellingham Bay that its homes take on weather most inland neighborhoods never see. Salt-laden air works on metal hardware and exposed fasteners year-round. Driving rain off the water finds every weak seam in a window's flashing. And the long, damp moss season that defines a Pacific Northwest winter keeps siding, trim, and window sills wet for weeks at a stretch. A window that's a perfectly fine product somewhere in eastern Washington can fail early here if it isn't installed with this specific exposure in mind.
We install windows across Bellingham and Whatcom County, and Fairhaven's older housing stock — mixed in among newer infill and remodels — gives us a good cross-section of what actually holds up near the water versus what looks fine for a few years and then starts letting water in behind the trim. This page is about that one job, done right, in that one setting.
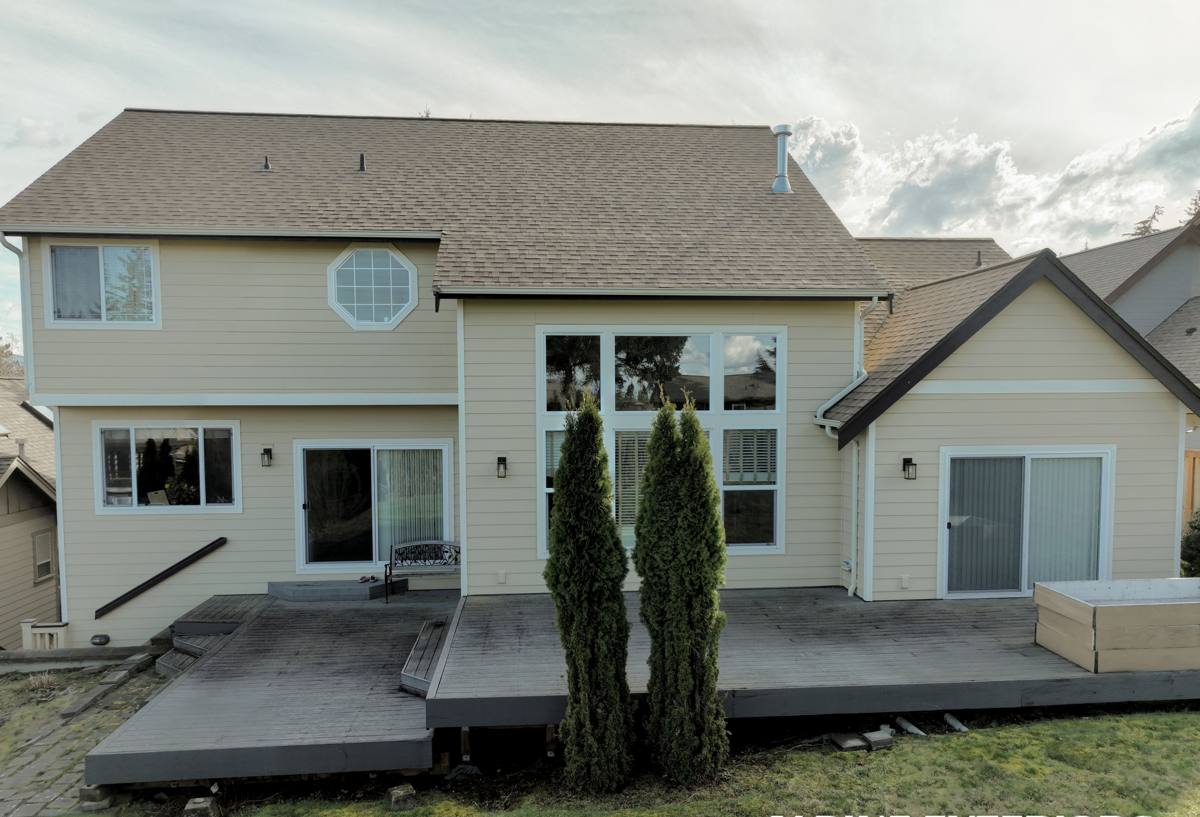
Signs a Fairhaven Home Needs New Windows
Window failure near the water rarely announces itself with a shattered pane. It's usually slower and easier to miss until it isn't.
- Fogging or a permanent haze between panes of a double-glazed unit — the seal has failed and the gas fill is gone
- Soft or discolored wood at the sill or the bottom corners of the frame, often the first sign of trapped moisture
- Windows that are noticeably harder to open, close, or lock than they used to be — frames can swell or warp with sustained damp exposure
- Visible daylight or a draft you can feel with a hand held near the frame on a windy day
- Paint or finish that keeps failing on the interior sill no matter how often it's touched up
- Condensation on the inside of the glass in cold, wet weather — a sign the unit is no longer insulating the way it should
Any one of these on its own might just mean a repair. Several at once, especially on a wall that faces prevailing weather off the bay, usually means the windows are past the point where patching makes sense.
What a Correct Window Installation Actually Involves
The window unit itself is only part of the job. In a climate that sends driving rain sideways into a wall for days at a time, how the window is integrated into the surrounding structure matters as much as the window's own quality.
Flashing and Water Management
Every opening needs a drainage plane that assumes some water will get behind the exterior finish eventually, and gives it a way back out. That means sill pan flashing under the window, house wrap or building paper integrated correctly with the window flange, and head flashing above that sheds water forward rather than trapping it against the frame. Skipping or shortcutting this step is the single most common reason we find rot when we open up an old installation.
Insulation and Air Sealing
The gap between the window frame and the rough opening needs to be filled with a material that stays flexible and doesn't compress or shrink over time — not stuffed with fiberglass batting, which does neither. A properly sealed gap keeps out both drafts and the fine, wind-driven moisture that's common on days when rain comes straight off the water.
Trim and Exterior Finish
The exterior trim and caulking are the last line of defense, but they're not the primary one — they're backup to the flashing underneath. We finish joints with a sealant rated for exterior use and for the temperature swings and near-constant humidity of a Whatcom County winter, and we leave the right drainage gaps so any water that does get past the surface has somewhere to go.
Choosing the Right Window for a Coastal-Adjacent Home
There's no single "best" window brand — there's a best match for the exposure, the home's style, and the budget. Frame material is usually the biggest decision for a Fairhaven property.
| Frame Material | How It Handles Salt Air & Moisture | Maintenance | Typical Fit |
|---|---|---|---|
| Vinyl | Won't corrode or rot; performs well near the water | Low — occasional cleaning | Most homes, best value |
| Fiberglass | Very stable in wet, salty air; expands and contracts less than vinyl | Low | Homes wanting a slimmer profile or paintable frame |
| Wood-clad | Good if the cladding is intact, but any breach exposes wood to rot risk | Higher — cladding and seals need periodic inspection | Historic or traditional-style homes where the look matters |
| Aluminum | Prone to corrosion and condensation in this climate unless thermally broken | Moderate to high | Rarely our first recommendation for residential use here |
We don't push one brand over another as a rule — we size the recommendation to the wall, the exposure, and what the homeowner actually wants to maintain over the next twenty years. On a wall that takes direct weather off the bay, we're more conservative about wood-clad units unless the cladding and detailing are proven, simply because a breach there is harder to catch early.
Glass and Energy Performance
Double-pane, low-E glass is the baseline for anything we install today. In a climate with mild summers and long, wet, mild-but-chilly winters, the priority is usually a lower U-factor for heat retention rather than a low solar heat gain coefficient — Fairhaven doesn't get the intense summer sun that would push that trade-off the other way. Argon-filled units are standard and worth the modest upcharge; they're a meaningful step up in insulating performance for a small cost difference.
Our Installation Process
The steps don't change much from house to house, but the care taken at each one does — and that's where quality actually shows up.
- Assessment and measurement. We check the rough opening, the condition of the existing sill and framing, and note anything that looks like prior water intrusion before we ever order a window.
- Careful removal. The old window comes out without tearing up more of the surrounding wall or trim than necessary, and we inspect the opening for hidden rot or damage once it's exposed.
- Any needed repair. If we find soft framing or old, failed flashing, we address it before the new window goes in. Installing a new window over a compromised opening just hides the problem for a while.
- Flashing and sealing. Sill pan, house wrap integration, and head flashing go in following a sequence that keeps water moving outward and downward, never trapped.
- Setting and shimming the window. The unit is leveled, plumbed, and shimmed so it operates smoothly and seals evenly — a window that's slightly out of square will bind, leak, or both.
- Insulating the gap. Low-expansion foam or an equivalent flexible sealant fills the perimeter gap without bowing the frame.
- Interior and exterior finish. Trim goes back on, joints are caulked with an exterior-rated sealant, and the interior is cleaned up before we leave.
Most single-window replacements take a few hours; a full-home reglazing project is scheduled around weather windows so openings aren't left exposed during a stretch of rain — a real scheduling consideration in a place where dry multi-day stretches aren't guaranteed most of the year.
Mistakes We Commonly Find in Older Installations
When we're called out to a Fairhaven home for a leak, draft, or a window that's failing early, a handful of issues come up again and again:
- No sill pan flashing, or flashing that was taped over house wrap incorrectly so water gets directed behind it instead of out
- Caulk used as the only water barrier, with no flashing behind it — caulk is maintenance, not a system
- Gaps insulated with fiberglass batting instead of a sealed, flexible fill, leaving a path for both air and moisture
- Windows set out of level or out of square, causing uneven wear on hardware and gaps that let water in on one corner
- Exterior trim installed tight against the siding with no drainage gap, holding moisture against the wood
None of these are unusual for their era — they were common practice for a long time. But in a climate that gets this much sustained wet weather, they tend to catch up with a house faster than they would somewhere drier.
Maintaining Windows Through a Bellingham Winter
A correctly installed window still benefits from basic upkeep, especially through the wettest months. This is a short list we give homeowners after every install:
- Clear leaves and moss buildup from window sills and any adjacent trim before the wet season sets in
- Check exterior caulking each fall for cracking or gaps and have it touched up before winter rains arrive
- Wipe down interior sills if condensation forms during cold snaps, and check that room ventilation is adequate
- Test that all operable windows still open, close, and lock smoothly — resistance can signal frame movement worth a look
- Keep an eye on paint or finish at the sill; peeling in the same spot repeatedly usually points to a moisture source worth investigating rather than just repainting again
Why Local Fairhaven Experience Matters
A window contractor who mostly works drier parts of the state can install a technically correct window and still get the flashing details wrong for this exposure, because the failure modes here are different. We work Bellingham and Whatcom County homes regularly, which means we've opened up enough old walls near the water to know where problems actually start — not just where the manufacturer's install guide assumes they will. That local pattern recognition is worth more than a brand name on the window itself.
It also means we're realistic about timelines and weather windows, and we won't leave an opening exposed on a day the forecast doesn't support it. That's a small thing until it's the reason your subfloor stays dry during a project.
Get a Free Estimate for Your Fairhaven Home
If your windows are fogging, drafting, sticking, or just past their years, we're happy to take a look and give you a straight, no-pressure assessment of what's going on and what it would take to fix it right. Use the form below to request a free estimate.